Hardware MIDI Controller For All Applications (Part 2)
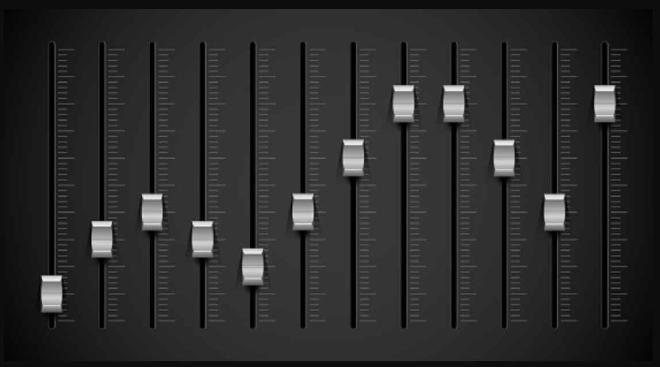
Table of Contents
In Part 1 of this series I detailed how to configure a single button on a MIDI device to interact with SoundSource through Keyboard Maestro and Apple’s Shortcuts. While long, it was a pretty simple implementation. Sliders, faders, and knobs are a little trickier due to some considerations in how MIDI handles signals.
Design Considerations #
One of the minor challenges in using a MIDI device to control a software setup like SoundSource, has to do with the MIDI protocol. This is made easier with Keyboard Maestro, but the challenge is still present. The “problem” has to do with the fact that MIDI signals send values from 0 - 127 to the MIDI host, so mapping must be done to turn them into a percentage value that you want for a volume slider. Luckily Keyboard Maestro allows us a variety of ways to do this operation with ease!
Another consideration in the implementation, is that Keyboard Maestro is quick to react to input triggers. There’s a rate limit on the number of macros that can run within a given timeframe (about 50 within a second).
This may not seem like a big deal, but as you’ll see in the details below, if you’re not aware of this, things will not work if you’re tweaking too much. By this I mean if you were trying moving the slider continuously, and the trigger was keyed every time you move the slider, you’d run up against that rate limit fast and nothing would work until it cleared the backlog. Not optimal.
I’ll start with the documentation around how to achieve the end result first, and for those who care about why, end with the design philosophy on how it was achieved.
Implementation Details #
How to use a slider and knobs for volume control
Keyboard Maestro Part 1 #
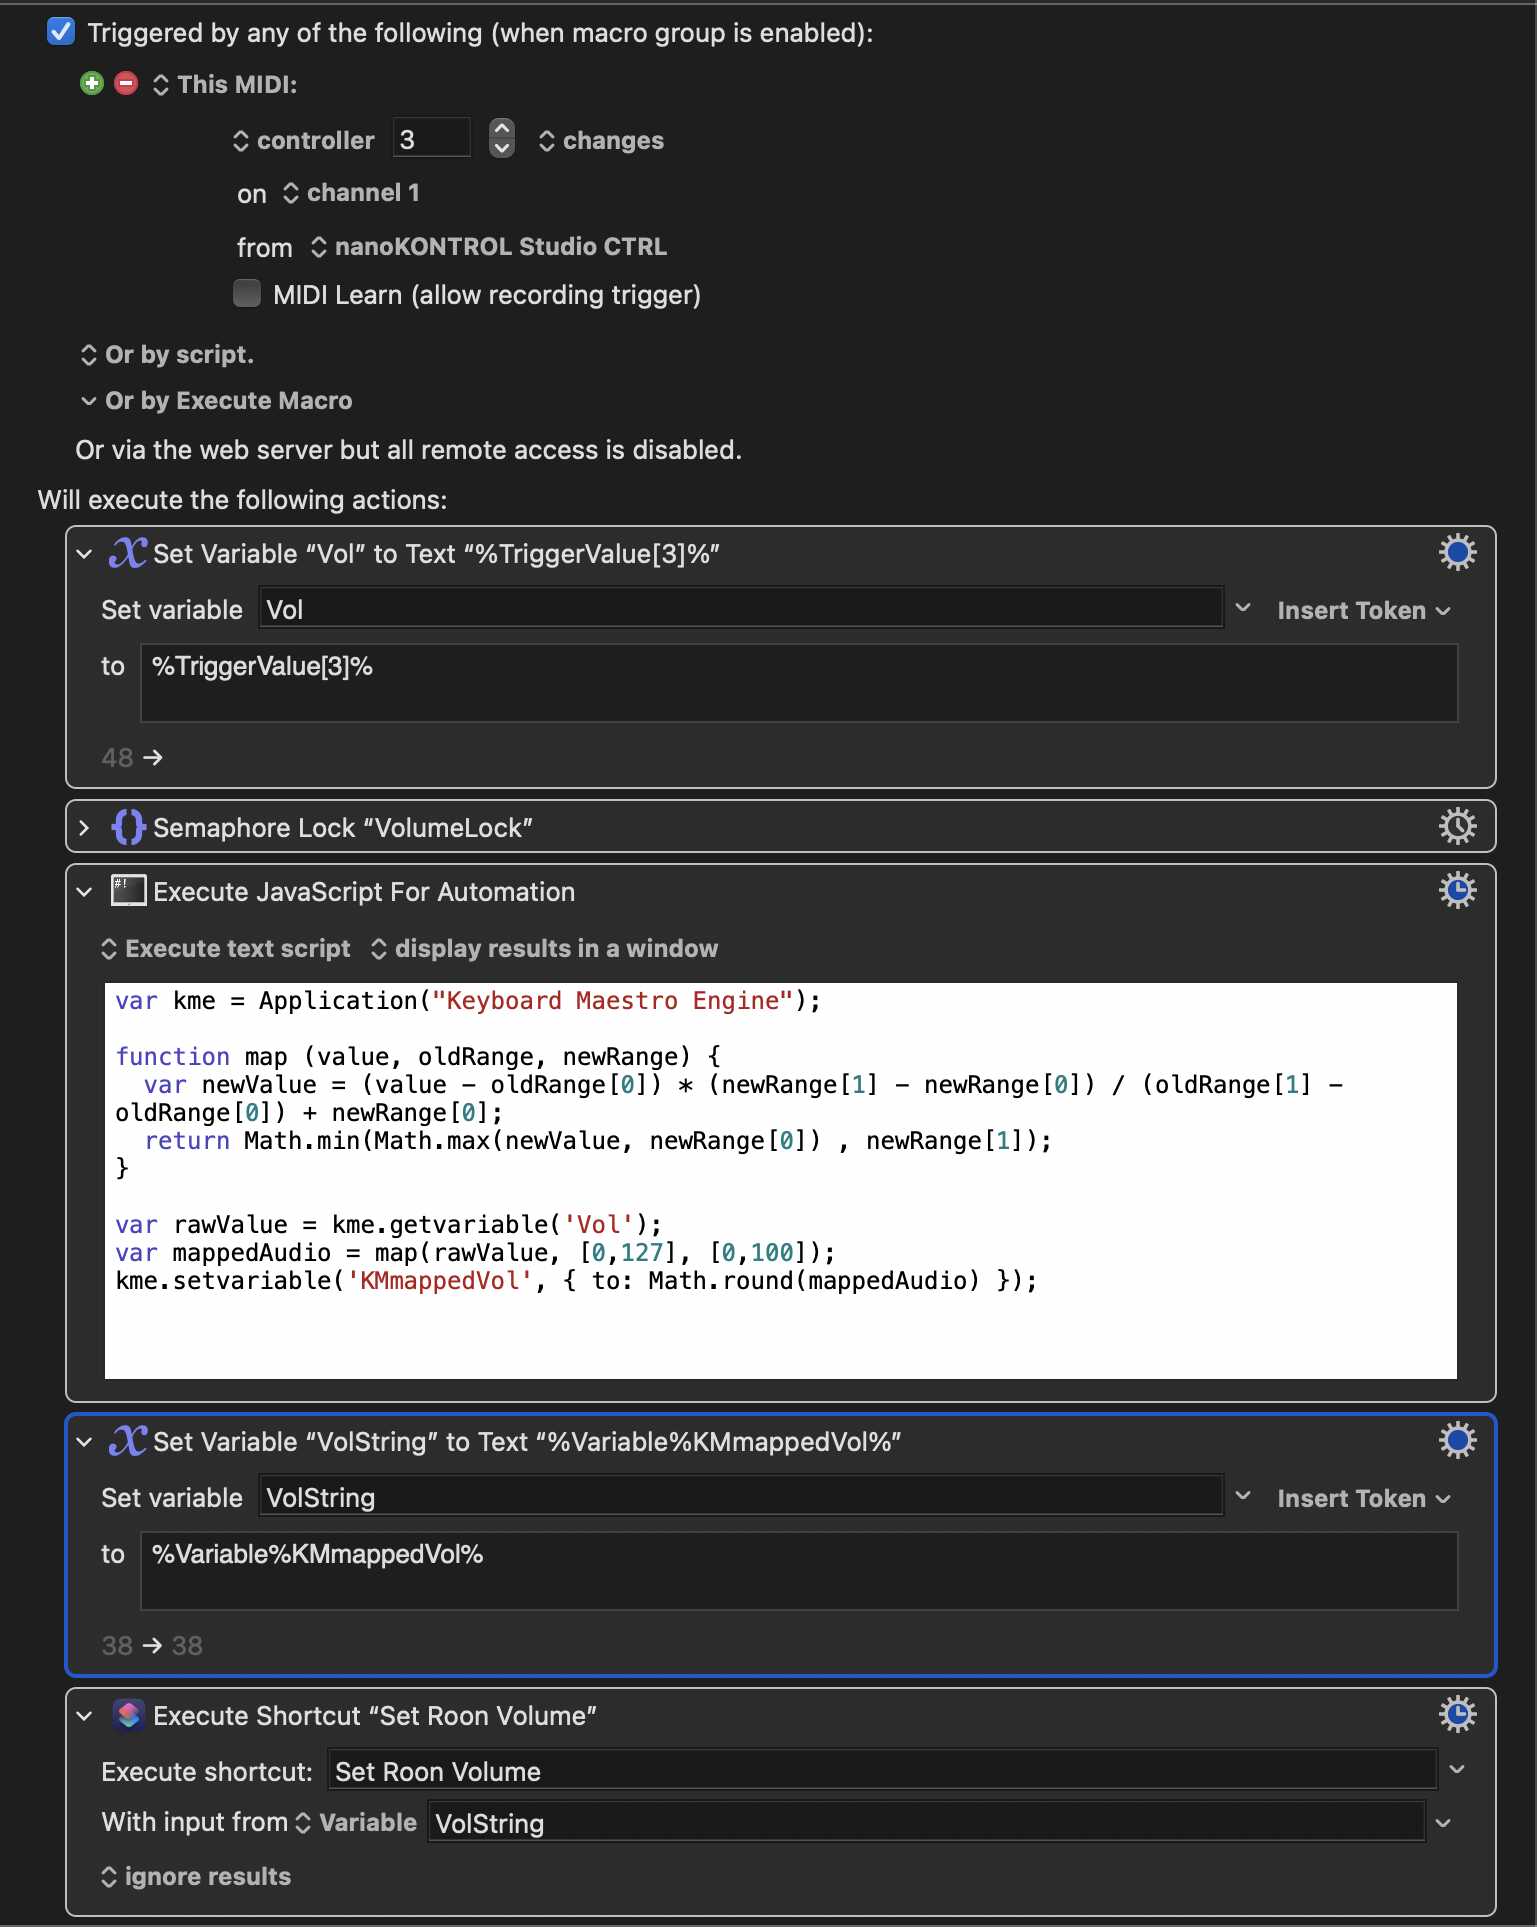
- Start by creating a new macro within Keyboard Maestro. Once again, setting up a MIDI trigger, using the
MIDI Learnoption as was done in Part 1.- As a departure from part 1, after you’ve used
MIDI Learnto determine the correct slider/knob, change the dropdown to the right of controller number fromis pressedtochanges(this will allow for triggers in either direction).
- As a departure from part 1, after you’ve used
- Next add an action at the bottom of the macro pane, search for
Set Variable to Text, and add it to the current macro. - (Now it gets fun)
- Set the variable name to
Vol - Set the ’to’
%TriggerValue[3]%this is the way for Keyboard Maestro to parse a string of data into the values we want. There’s a link below to the MIDI page of the Keyboard Maestro wiki if you want more details.
- Set the variable name to
- Add another action, this time searching for
Semaphore Lockand add it to the macro. Technical details below- Give the lock the name
VolumeLock
- Give the lock the name
- Add another action, this time searching for
Execute a JavaScript For Automationand add it to the macro. - In the body of that action add the following JavaScript code; Technical details below
var kme = Application("Keyboard Maestro Engine");

function map (value, oldRange, newRange) {
  var newValue = (value - oldRange[0]) * (newRange[1] - newRange[0]) / (oldRange[1] - oldRange[0]) + newRange[0];
  return Math.min(Math.max(newValue, newRange[0]) , newRange[1]);
}

var rawValue = kme.getvariable('Vol');
var mappedAudio = map(rawValue, [0,127], [0,100]);
kme.setvariable('KMmappedVol', { to: Math.round(mappedAudio) });
- Next add another action at the bottom of the macro pane, search for
Set Variable to Text, and add it to the current macro.- Set the variable
vmtoVolString - Set the ’to’
%Variable%KMmappedVol%(this is Keyboard Maestro getting the results from the JavaScript code that was run previously)
- Set the variable
Now we’re one step away from being done in Keyboard Maestro! Back to Apple Shortcuts!
Apple Shortcuts #
This Shortcut is simple and quick:
- Add a shortcut from the menu by click the
+button at the top of the window - Give it a name like
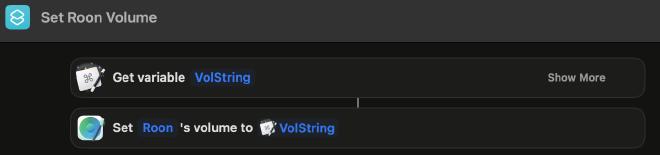
Set Roon Volume(or whatever app you’re targeting) - In the right pane, search for
Keyboard Maestrothen drag theGet Variableto the center pane- Double-click the
Variabletext and enterVolString(which was the final variable we specified in the Keyboard Maestro section)
- Double-click the
- In the right pane, search for
SoundSourcethen drag theSet Source Volumeto the center pane- Click
Sourceand choose your desired app (Roon in my example) - Right-click on the
100%text and clickSelect Variable- There should be an entry called
VolStringorValuebelow theGet Variableblock before the current block. Click once onVolStringorValue.- If you don’t see
VolStringorValue, save your shortcut, close it, and reopen it. The correct label should be there now.
- If you don’t see
- There should be an entry called
- Click
Keyboard Maestro Part 2 #
- As before, add a new action to the macro that you’ve been building, searching for
Execute Shortcut- From the dropdown menu to the right of the
Execute Shortcutdialog choose your newly created Shortcut - Below that change value of
With input from, toVariableand put in the name of the Keyboard Maestro variable:VolString
- From the dropdown menu to the right of the
That’s it! Simply copy this macro changing the name, controller number, and Shortcut target! If you’re curious as to why you just did, what you just did, keep reading.
In the end you should have a macro that looks something like the following
Technical Details #
There are details that I glossed over as to why something needed to be done a certain way in order to allow people to get it working faster. What follows are the details behind what is actually happening.
Semaphore Lock #
As mentioned above, Keyboard Maestro will start to rate limit the number of executions of macros depending on how frequently they are called. You can imagine in the example above, that this could happen too quickly if every time you moved the slider, a macro was triggered. Moving the slider from 0 to 100 could trigger 127 macros within a very quick timeframe. So how do we get around this?
Semaphores for the win!!
A semaphore is a kind of waiter that will block any input, or changes in our case. When the macro reaches the semaphore it will block all input for a moment then continue with the rest of the macro. This may seem weird, but it works. It allows you to continue to move the slider at any speed while only processing a handful of events, ending with your final position, while still giving you the feedback of changing the volume in near realtime.
JavaScript Automation #
The code here simply uses JavaScript to get the variable from Keyboard Maestro, and maps the value from 0 - 127 to 0 - 100. This is needed because the volume value in SoundSource is a percentage between 0 and 100. JavaScript was used here due to the fact that Keyboard Maestro has a built-in JavaScript engine and libraries.